This program should switch a LED when a button is pressed and switch off when it is not pressed any more. I suggest, we start with the Blink example code.
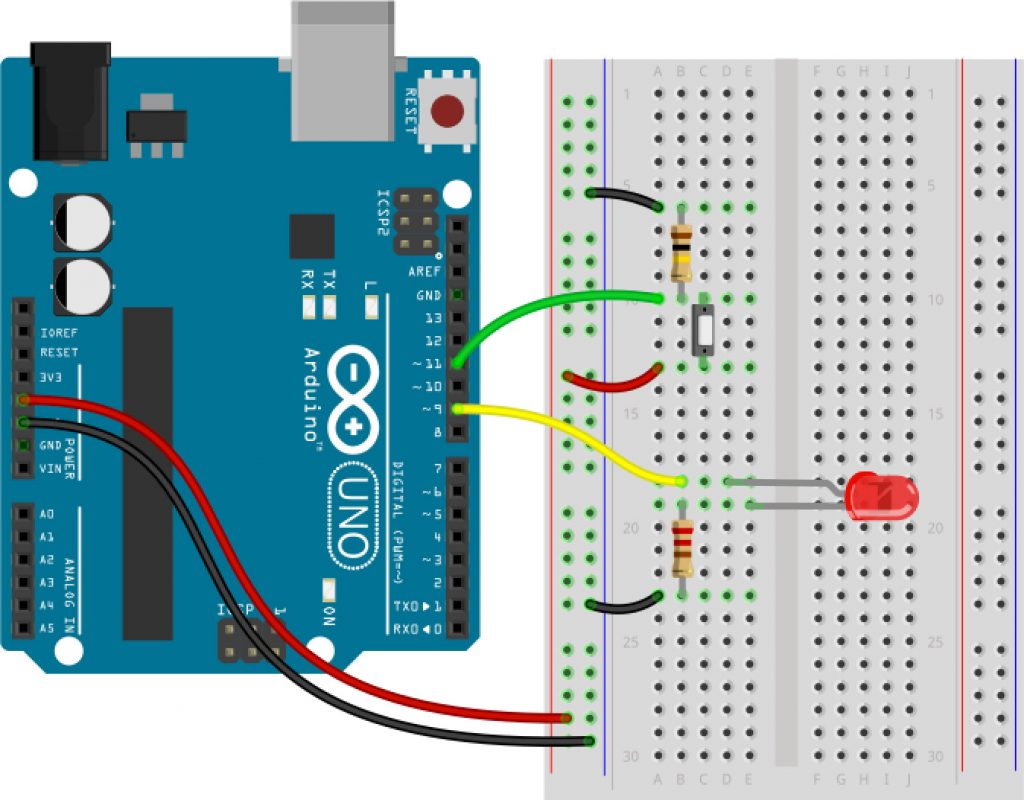
Did you build the circuit of Unit 11?
Here comes the code:
int ledPin = 9;

void setup(){
  pinMode(ledPin,OUTPUT);
}

void loop(){
  digitalWrite(ledPin, HIGH);
  delay(200);
  digitalWrite(ledPin, LOW);
  delay(200);
}
You already know the program from Unit 7. Now let’s rearrange it.
I suggest to store the pin number where the is connected to in a variable.
int buttonPin = 11;Now, we have to tell Arduino that we want to use a pin as an input. The command is:
pinMode(buttonPin,INPUT);You realized it, yes? It is the same command we used for the LED. Just the argument this time is not OUTPUT but INPUT.
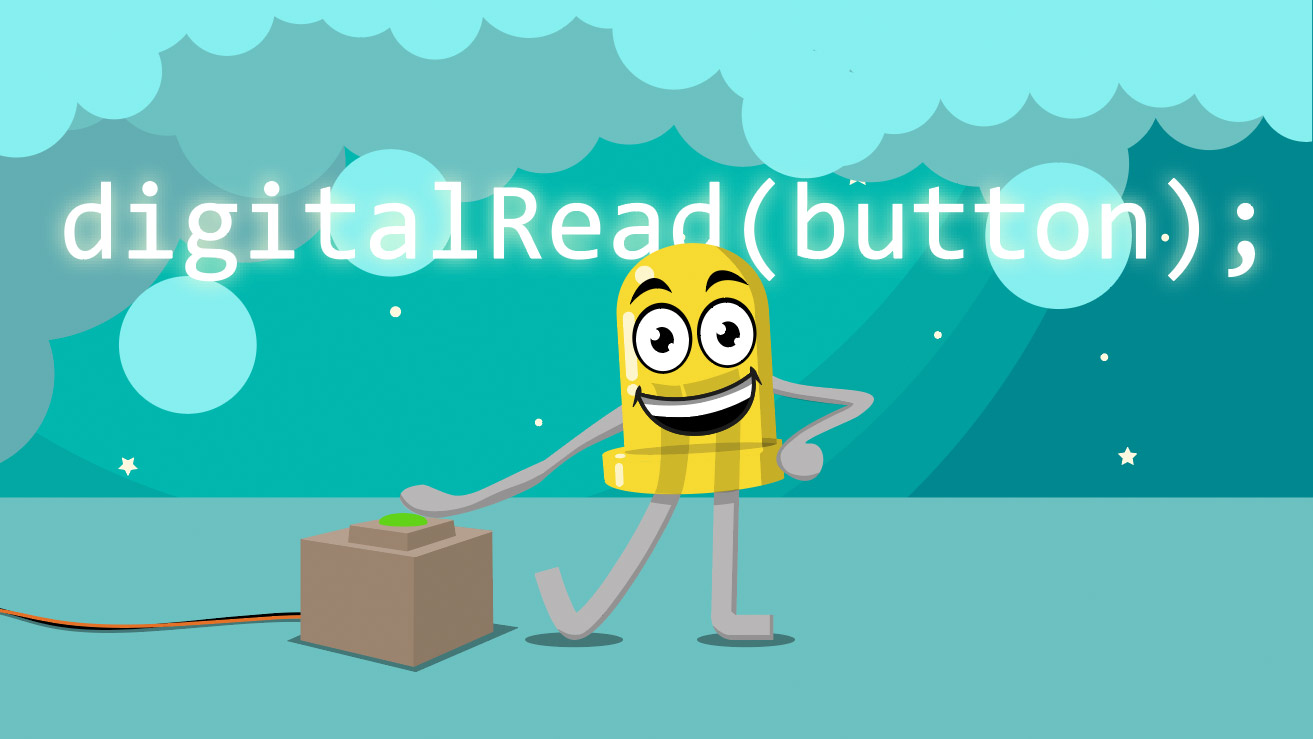
To find out whether the button is pushed (HIGH) or not (LOW) we can use this command:
digitalRead(buttonPin);Until now, we just used commands without returning results. This one is doing it. When we use it it returns HIGH or LOW. It is called a return value.
That is a bit hard to get. Imagine, there would be a command (or better a method) which is called sum(a,b). The arguments a and b are two numbers which should be calculated as a sum. The return of our command would be the result of the calculation. To store the result, we use another variable. This looks like that: c = summe (a,b); Now the result is stored in the variable c.
The command digitalRead(buttonPin); returns either HIGH or LOW. But how can we find out what it is? Therefore we are using on of the most important constructions in programming: the if-statement.
The if-Statement
Using the if-statement we can find out whether a condition is true of false. Let’s assume you have red and blue building bricks and you want to sort by color them into two boxes. How would you do that?

Maybe like that:
- take a brick
- check if it is red
- if it is red put it in box A
And this is exactly who to use the if-statement. Easy, isn’t it? This is how to write it. Look to it that we use two equality signs. That is very important.
if (brick==red) {
  put brick in box A
}
Great. Now we can put all the red bricks into box A. But the blue ones would remain on the floor. How can we put them into box B? A suggestion:
- take a brick
- check if it is red
- if it is red put it in box A
- else put it in box B
Great, no? And this is how it is programmed:
if (brick==red) {
 put brick in box A
} else {
 put brick in box B
}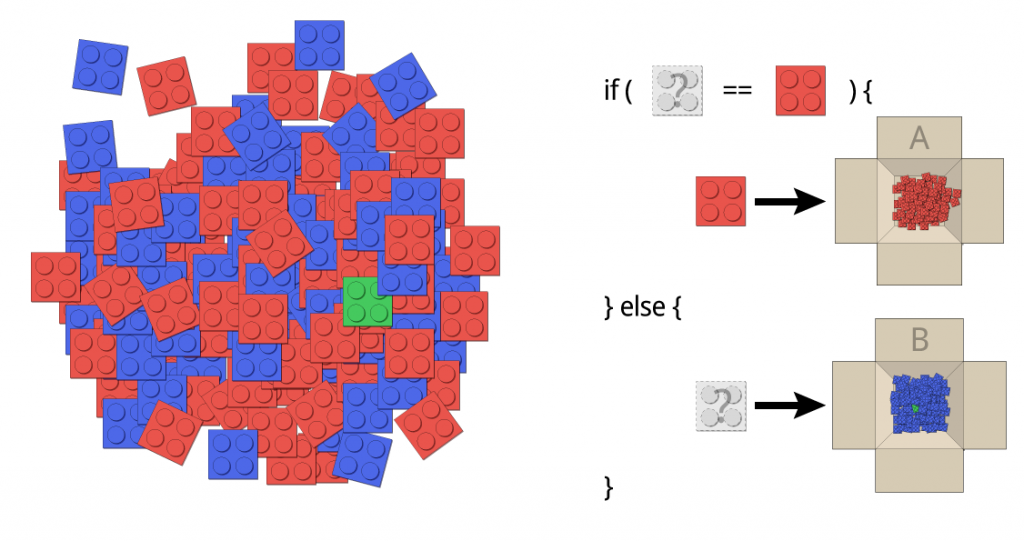
Did you saw the green brick? It also lands in box B because we are not asking for blue but for not red. 😉
But back to our program. This looks like that and need to be changed:
int ledPin = 9;
int buttonPin = 11;

void setup(){
  pinMode(ledPin,OUTPUT);
  pinMode(buttonPin,INPUT);
}

void loop(){
  digitalWrite(ledPin, HIGH);
  delay(200);
  digitalWrite(ledPin, LOW);
  delay(200);
}
The if statement for the button asks if the button is HIGH:
if (digitalRead(buttonPin)==HIGH){

}
If the button is HIGH the LED should be turned on:
if (digitalRead(buttonPin)==HIGH){
  digitalWrite(ledPin, HIGH);
}
Otherwise (else) it should be turned off:
if (digitalRead(buttonPin)==HIGH){
  digitalWrite(ledPin, HIGH);
} else {
  digitalWrite(ledPin, LOW);
}
The whole program looks like that:
int ledPin = 9;
int buttonPin = 11;

void setup(){
  pinMode(ledPin,OUTPUT);
  pinMode(buttonPin,INPUT);
}

void loop(){
  if (digitalRead(buttonPin)==HIGH){
    digitalWrite(ledPin, HIGH);
  } else {
    digitalWrite(ledPin, LOW);
  }
}
Does it work? Super! Now try to change the program in that way that the LED is turns off when the button is pressed. You can find the solution here:
Solution
Of course there are a lot of possible solutions. Here are two:
int ledPin = 9;
int buttonPin = 11;

void setup(){
  pinMode(ledPin,OUTPUT);
  pinMode(buttonPin,INPUT);
}

void loop(){
  if (digitalRead(buttonPin)==LOW){
    digitalWrite(ledPin, HIGH);
  } else {
    digitalWrite(ledPin, LOW);
  }
}
Or:
int ledPin = 9;
int buttonPin = 11;

void setup(){
  pinMode(ledPin,OUTPUT);
  pinMode(buttonPin,INPUT);
}

void loop(){
  if (digitalRead(buttonPin)==HIGH){
    digitalWrite(ledPin, LOW);
  } else {
    digitalWrite(ledPin, HIGH);
  }
}
That was not so easy. Great, that you managed it anyway. Now you know the most important things of programming: variables, loops and the if statement. Keep it up! From now on it get’s easier. Promise!

Thank you