
Beside the digital input we also can use the analog input. It is great to read potentiometers (knobs) or sensors. Think of the temperature or brightness – it is not on or off but has a certain value.
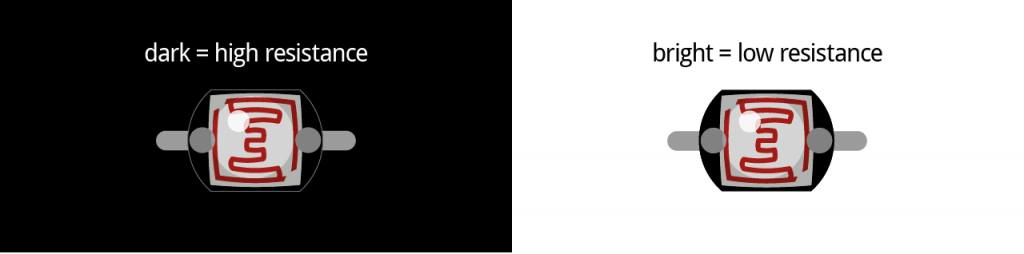
Brightness can be detected by so called photo-resistors. A photo-resistor consists of a material changing it’s resistance depending on brightness. The more light, the smaller it’s resistance gets.
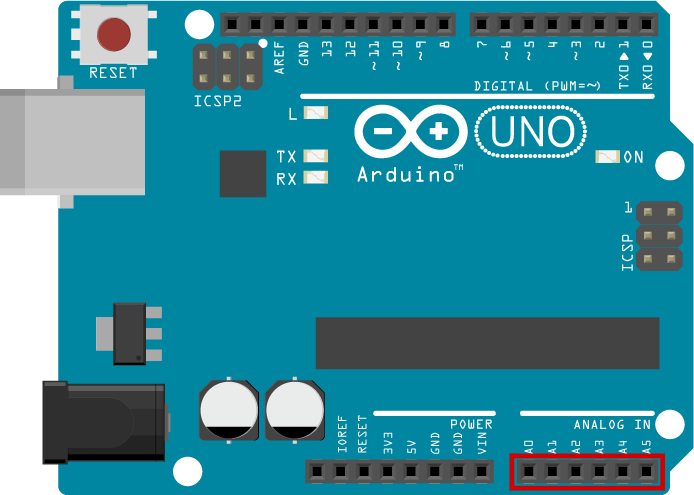
We can read out this sensor with the Arduino board. It will return a value between 0 and 1023. We need to use the Analog input pins of the Arduino. They are on the on the opposite of the digital pins.
To use the photo-resistor you will need an additional resistor. It is called a reference resistor and Arduino needs it to detect a relative relation between the photo- and the reference-resistor.
The reference resistor should have the resistance of the photo-resistor while average brightness. But you can just try which resistor works best. Start with 100 Kilo-Ohm.
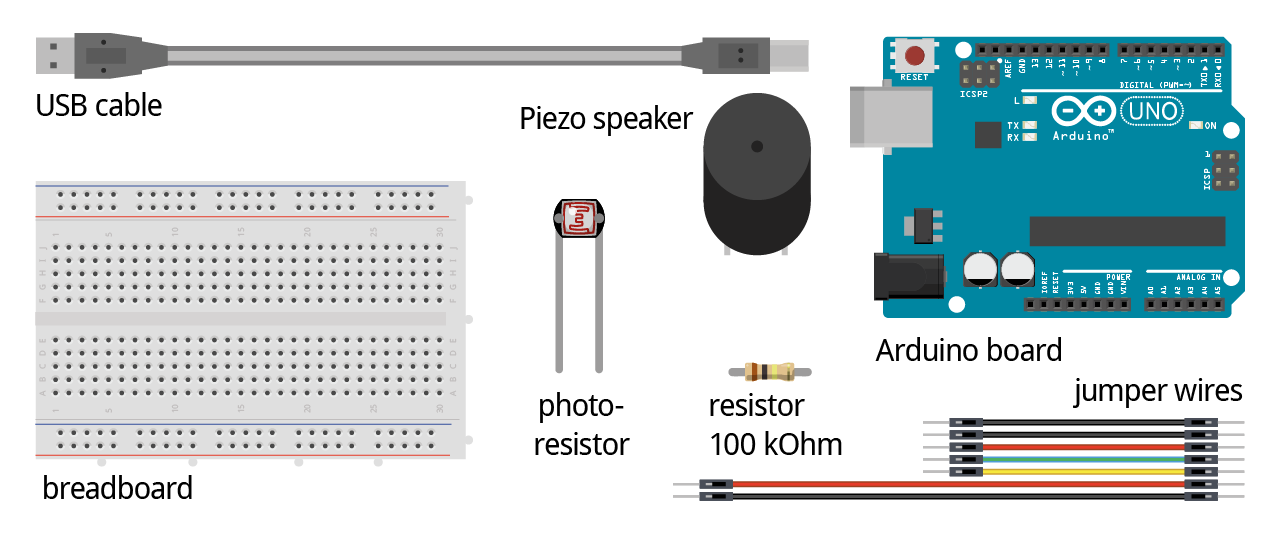
Used parts
Circuit
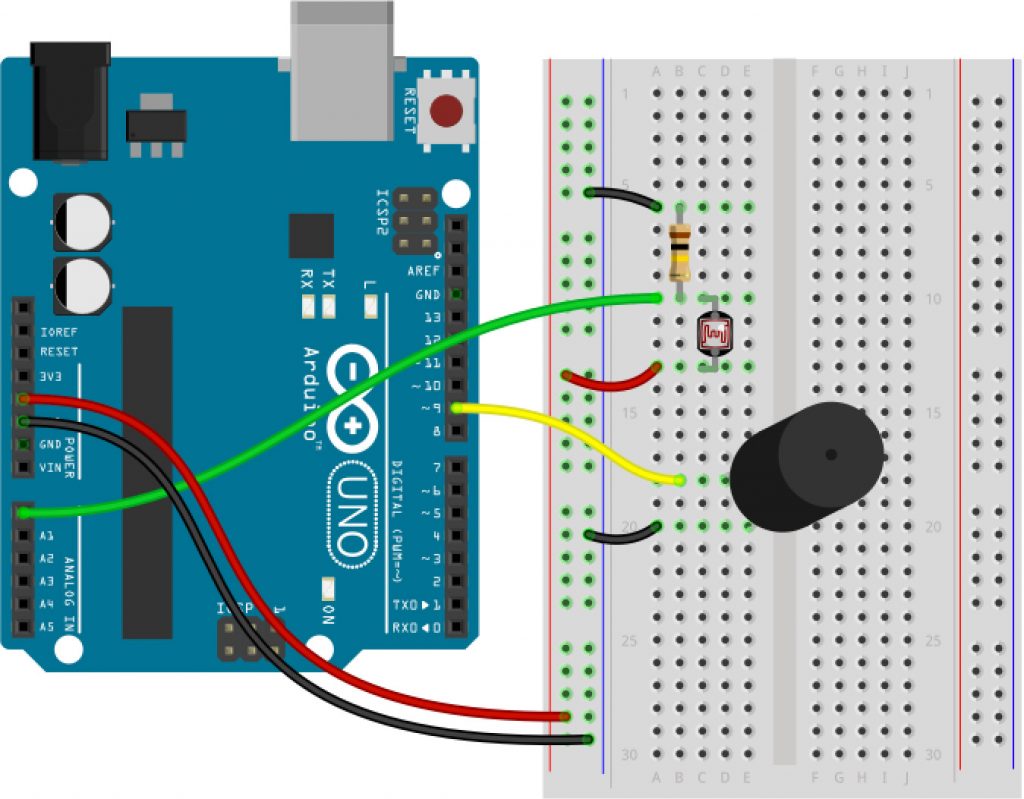
Super. Now, we’ve got a reference resistor (100 kOhm) and a photo-resistor. They are connected to the Analog 0 of the Arduino.
The command to read an analog value is
analogRead(pin);It returns a value between 0 and 1023. Now, we code a program playing a sound. The tone height should be dependant of the photo-resistor. In other words dependent of the brightness. To do so, we can use the command analogRead(sensorPin) and send the value to the tone() command:
int sensorPin = 0;
int speakerPin = 9;

void setup() {

}

void loop() {
  tone(speakerPin,analogRead(sensorPin));
  delay(20);
}
That’s it! Not bad, no? But what values are actually reached? We just hear the sound but wouldn’t it be good to display the values of the photo-resistor?
Serial Monitor
The Serial Monitor of the Arduino software can create a data connection between the computer and the Arduino. When we send data to this so called serial connection, the Serial Monitor can display this values. To use it, we have to put
Serial.begin(9600);in the setup()-method. The 9600 is the Baud rate – the speed of transmission .
Now, the serial connection is turned on. To send a value, we write:
Serial.println(value);As value we can use variables, text or even methods providing a returning value, e.g. analogRead(sensorPin). This looks like that:
int sensorPin = 0;
int speakerPin = 9;

void setup() {
  Serial.begin(9600);
}

void loop() {
  Serial.println(analogRead(sensorPin));
  tone(speakerPin,analogRead(sensorPin));
  delay(20);
}
And where can we see this data? Klick on the magnifying glass top right in the Arduino software (or click on Tools>Serial Monitor in the menue). A new window is opened: The Serial Monitor.
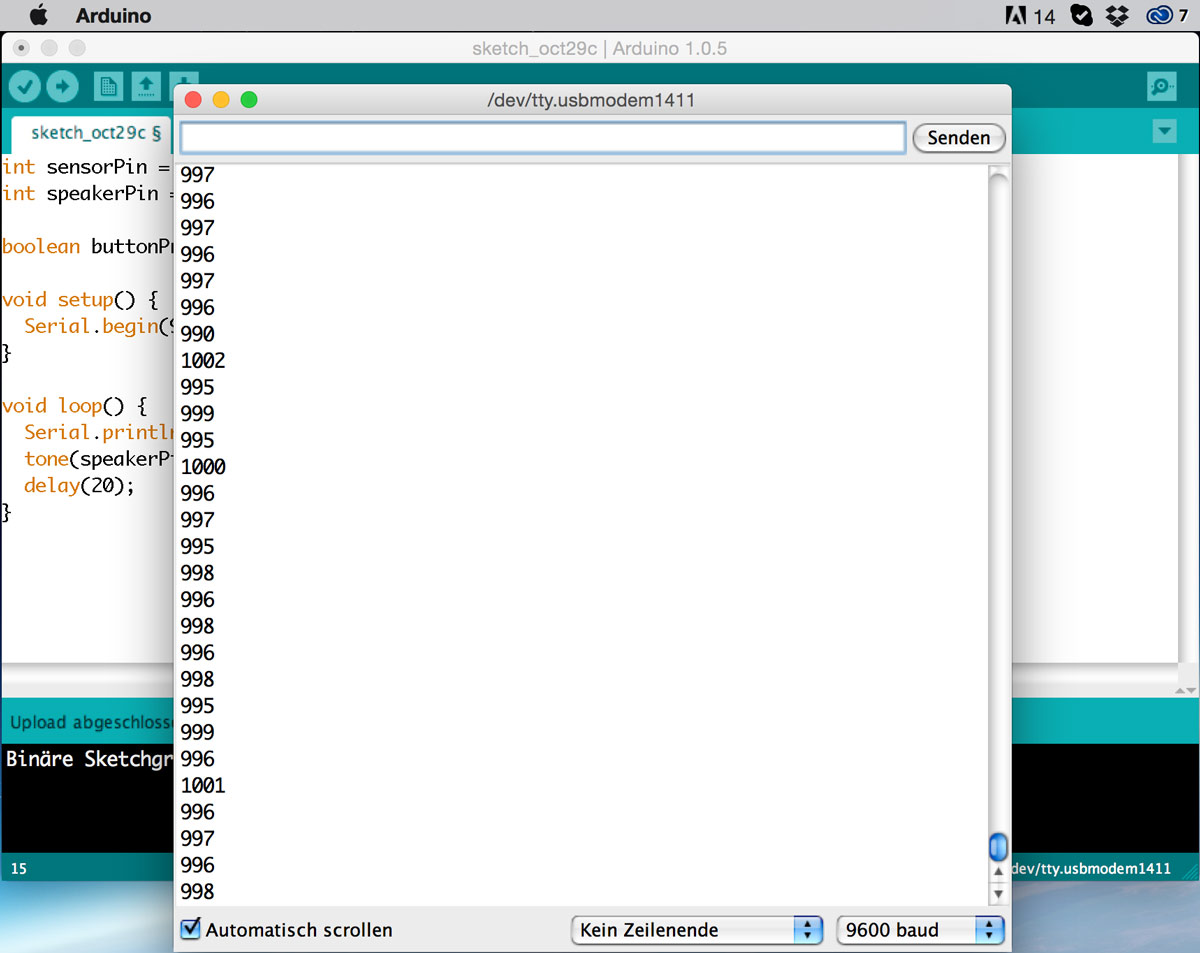
What values do you get? Do they use the whole range from 0 to 1023? Usually not, but a range of 600 to 900 would be totally OK. You can adjust it by trying different resistors.
