Let’s program our digital cat. It’s still a way to go.
We have to teach the digital pet some things. It should blink with the eyes (LEDs). It should purr when it’s stroked. It should grumble when it is ignored. Let’s start with the blinking.
(BTW: This is part 2, find Part one here: https://starthardware.org/en/unit-19-my-digital-cat-1-2/ )
Blinking eyes
Blinking eyes is actually not that different from the blinking LED example we discussed in the very beginning of that course. The LEDs can be connected to two digital Arduino pins. That means we need the commands pinMode and digitalWrite twice. The code could look like that:
int ledPin1 = 10;
int ledPin2 = 11;

void setup() {
  pinMode(ledPin1, OUTPUT);
  pinMode(ledPin2, OUTPUT);
}

void loop() {
  digitalWrite(ledPin1, HIGH);
  digitalWrite(ledPin2, HIGH);
  delay(5000);
  digitalWrite(ledPin1, LOW);
  digitalWrite(ledPin2, LOW);
  delay(50);
}
Now, both LED blink always in in the same speed. That is a bit boring, no? We should randomly blink the LEDs. Fortunately, there is a random-command.
Info: random();
The random(maximum)-command creates a random number between 0 and the as argument given number (maximum). This number is never reached. If you write random(5) the random results are 0, 1, 2, 3 and 4.
Let’s generate a random number between 0 and 500. The eyes (LEDs) should switch off when the random number equals 1. That will create random intervals for eye blinking. Now, we put in a small delay at the end of the program. That will give us the needed break to see, that there is something really happening.
int ledPin1 = 10;
int ledPin2 = 11;

void setup() {
  pinMode(ledPin1, OUTPUT);
  pinMode(ledPin2, OUTPUT);
}

void loop() {
  // LEDs on
  digitalWrite(ledPin1, HIGH);
  digitalWrite(ledPin2, HIGH);

  // blink
  if (random(500)==1){
    digitalWrite(ledPin1, LOW);
    digitalWrite(ledPin2, LOW);
    delay(50);
  }

  delay(10);
}
Purring
The digital pet should purr when it is stroked. To detect if it is stroked, we will use a digital sensor inside. When you stroke it, your hand will cover up some light and the sensor can detect that.
But at first Arduino hast to measure the normal light when the pet is not stroked. It can do it when it is connected to the USB but we have to code it. Let’s store that value into the variable lightNormal: lightNormal=analogRead(sensorPin);
The variable sensorThreshold is used to calibrate the brightness difference when it should start to purr. That is done with if(analogRead(sensorPin)> lightNormal + sensorThreshold){…}. It may be that you have to change the value. Just try out other values if it doesn’t purr.
That is the code without blinking eyes:
int sensorPin = 0;
int sensorThreshold = 20;

int lightNormal;

void setup() {
  lightNormal = analogRead(sensorPin);
}

void loop() {
  // Schnurren
  if (analogRead(sensorPin)> lightNormal+ sensorThreshold){
    tone(speakerPin,0.001);
  } else {
    noTone(speakerPin);
  }

  delay(10);
}
Grumble
But what if nobody plays with the pet? When it is ignored for to long, it will play a little melody to get attention. We do it like we did with he blinking eyes. We use a random command. Of course, the pet must not grumble while it is stroked. So we have to connect two conditions. We can do that in the if-statement using the double et-sign (&&).
int sensorPin = 0;
int sensorThreshold = 20;

int speakerPin = 9;

int lightNormal;

void setup() {
  lightNormal = analogRead(sensorPin);
}

void loop() {

  // Meckern
  if ((random(10000)==1)&&(analogRead(sensorPin)< lightNormal+100)){
    tone(speakerPin,1200);
    delay(100);
    tone(speakerPin,800);
    delay(200);
    tone(speakerPin,1000);
    delay(200);
    tone(speakerPin,1200);
    delay(100);
  }

  delay(10);
}
If your digital pet should grumble or not is of course up to you 😉
Here you can find the complete code for the digital pet:
int ledPin1 = 10;
int ledPin2 = 11;

int sensorPin = 0;
int sensorThreshold = 20;

int speakerPin = 9;

int lightNormal;

void setup() {
  pinMode(ledPin1, OUTPUT);
  pinMode(ledPin2, OUTPUT);

  lightNormal = analogRead(sensorPin);
}

void loop() {
  // LEDs on
  digitalWrite(ledPin1, HIGH);
  digitalWrite(ledPin2, HIGH);

  // blinking
  if (random(500)==1){
    digitalWrite(ledPin1, LOW);
    digitalWrite(ledPin2, LOW);
    delay(50);
  }

  // purring
  if (analogRead(sensorPin)> lightNormal+ sensorThreshold){
    tone(speakerPin,0.001);
  } else {
    noTone(speakerPin);
  }

  // grumbling
  if ((random(10000)==1)&&(analogRead(sensorPin)< lightNormal +100)){
    tone(speakerPin,1200);
    delay(100);
    tone(speakerPin,800);
    delay(200);
    tone(speakerPin,1000);
    delay(200);
    tone(speakerPin,1200);
    delay(100);
  }

  delay(10);
}
Wow! That was complicated. Time to tinker something!
Digital Cat – Paper Model
Get the paper model files from here: Download
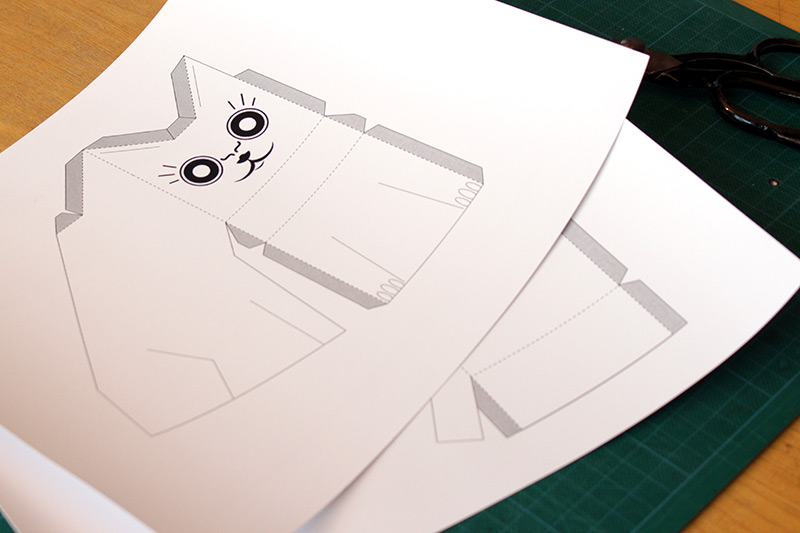
Print it on a a heavy paper or cardboard. 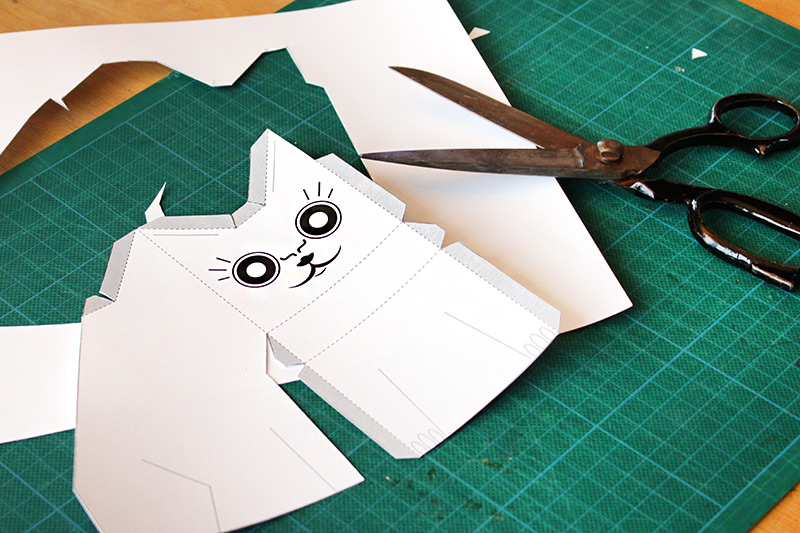
Take the first sheet and cut along the solid lines. 
Fold along all dashed lines. That works better, when your carve it carefully before. 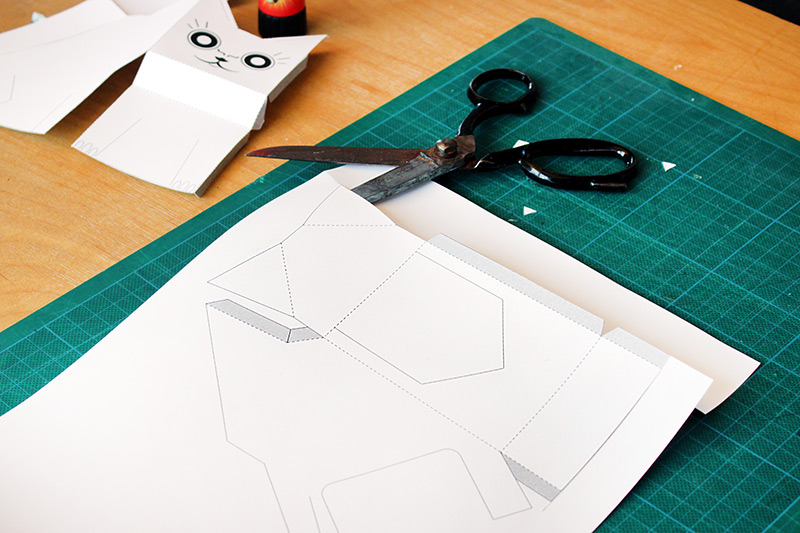
Cut out the second sheet. 
Mind the cut out in the middle. 
Now again, fold along the dashed lines. 
Cut the holes for the eyes. Be careful. 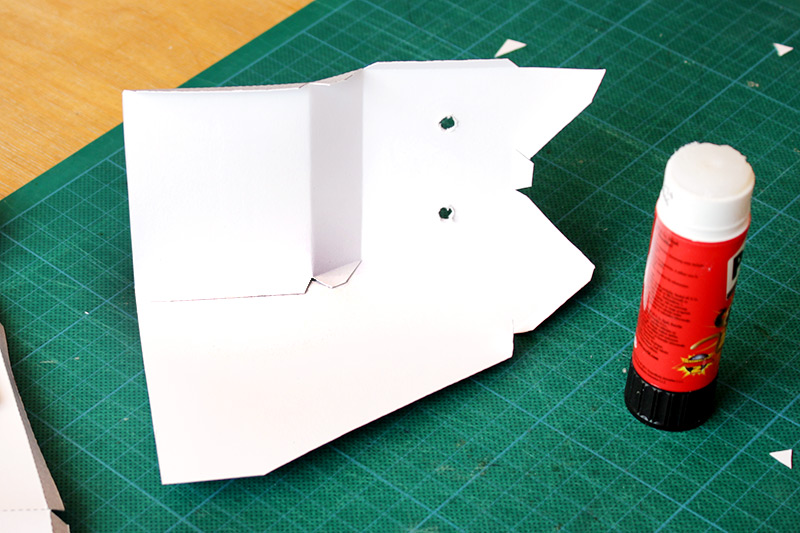
Glue it together like shown on the picture. You can either use a glue stick or liquid paper adhesive. 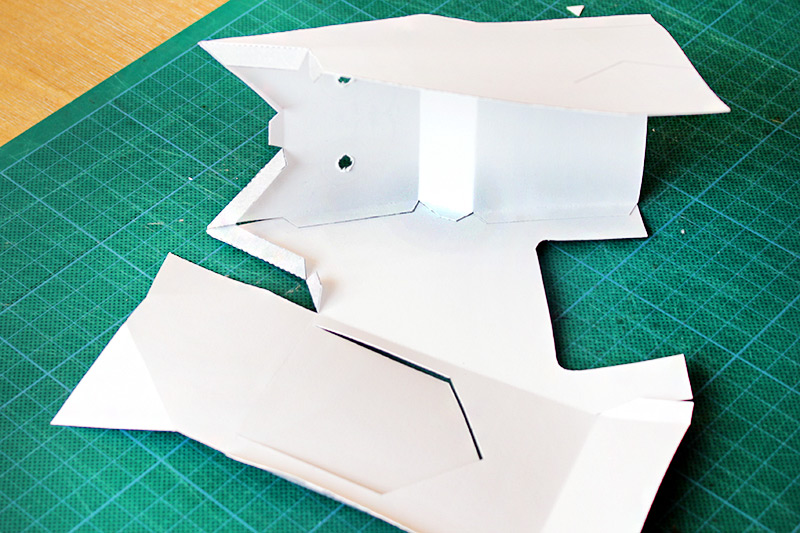
Now, stick the backside to the frontside. 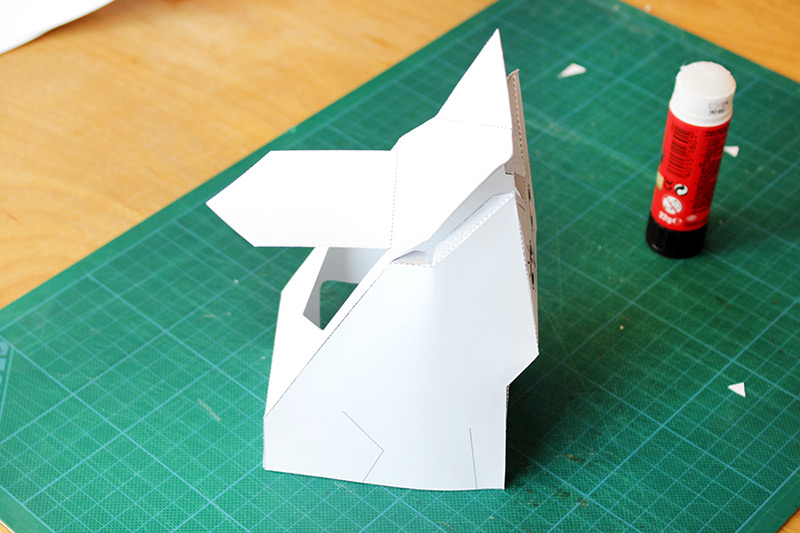
Close it. 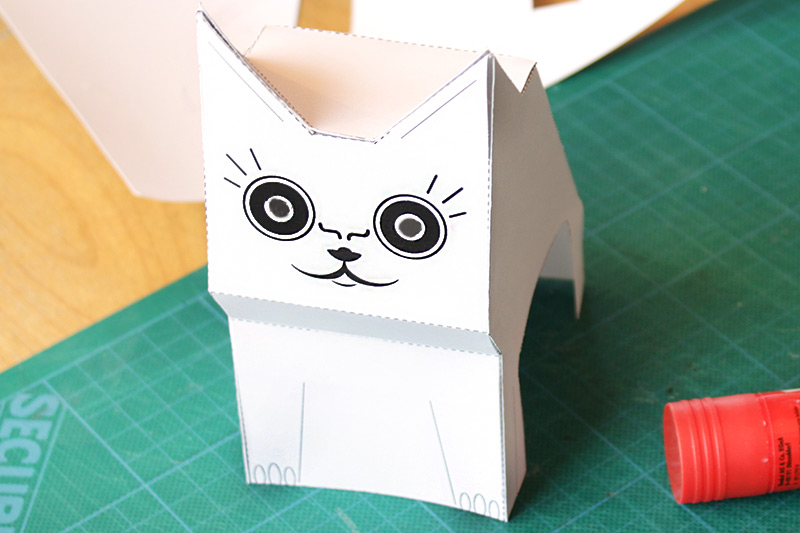
The ears of the pet are a bit difficult to glue. Best, use a pencil to push against it from the inside. 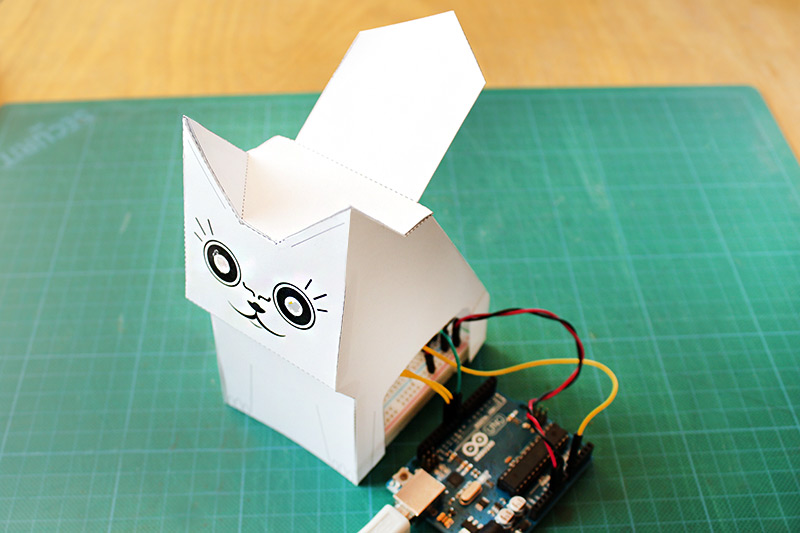
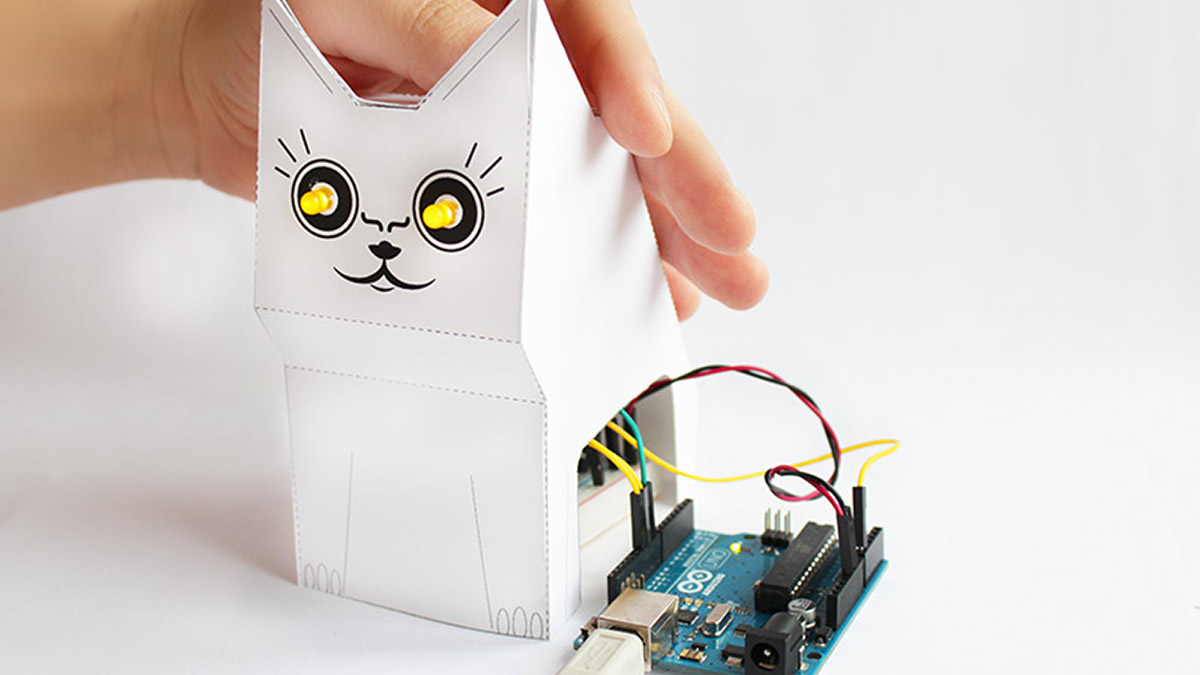
Time to put in the electronics. Place the paper model on top of the breadboard. The wires can be bended a bit and put through the cut on the side. 
Put the LEDs into the cut outs of the eyes. Bend the legs down. (If your calbes are to short, put something unter the breadboard to lift it up.) 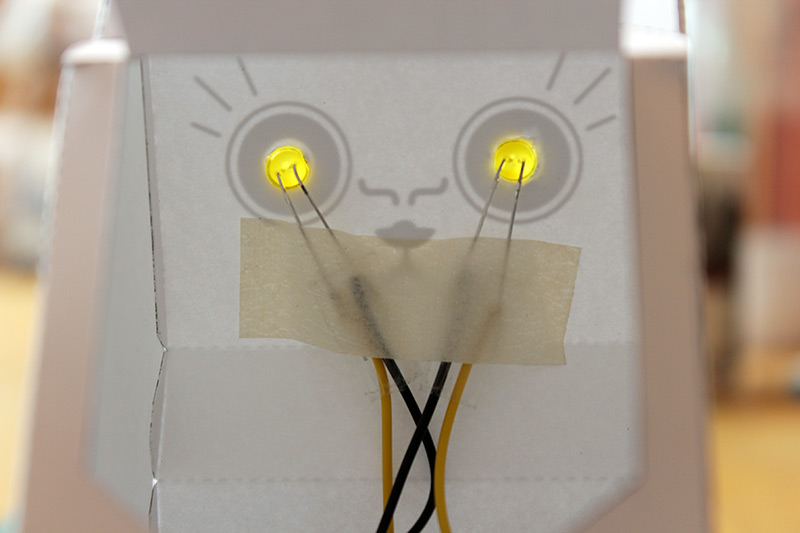
Stick the legs onto the paper by using some tape. 
Of course you should paint the pet in your taste. If you connect the Arduino to USB, the pet becomes alive!
Congratulations!
You reached the end of that course! We hope it was fun and that you are now able to build your own electronic ideas. Come back soon, we will have new tutorials in the future!
It was great to meet you! All the best from StartHardware!!!

Pretty nice Cat only i cant find a hardware layout…., i mean how does the arduino put to the breadboard etc… hope you will post that
thanks
Hi Martijn, Ah, I see. You are on part 2/2. This is the link to the first part of this project: https://starthardware.org/en/unit-19-my-digital-cat-1-2/ All the best, Stefan 🙂